


Using vinyl for crafting projects is not a new trend. From the dawn of decorating t-shirts with a yellow happy face to the current popularity of designing and creating unique drinkware designs, craft vinyl has been the go-to medium. Some people may feel intimidated, thinking it is beyond their skills or that vinyl is not an easy crafting material to master. Businesses use vinyl for car wraps, signs, and banners, so some people associate vinyl only with commercial usage. However, it's ideal for creating personal projects and gifts all the way to building an art crafting business. There are various types of vinyl, but not all of them are useful for crafting. So where does a new vinyl crafter begin?
Advantages of DIY Craft Vinyl
Money-saving
Adding numbers, names or logos to clothes is quick and easy. Even two or three colors designs, can be quickly finished. For the design, you only need custom cut the design and weed the image. In other words, say goodbyes to expensive software and messy inks and chemicals for the job.
Durable
People frequently wear uniforms and jerseys, which means wear and tear are common. The good thing about vinyl prints is that they last long, even after many washes.
Personalized design
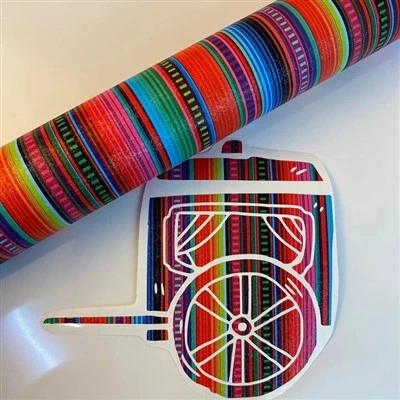
Not only logos but those who want personalized designs on t-shirts, swimsuties, jackets, bags, umbrellas, cozies, the list goes on. As you get what you see, you don’t even have to make changes. No matter what color, texture, or pattern, the same design could be cut easily in any variety of colors and textures.
Fine details
The design is first cut into the vinyl. This makes it easy to replicate the exact design, without missing out even a small detail. Remember the smaller detail will be harder to weed out the unwanted the vinyl from the design.
Speed production
While not recommend for high production jobs of the same design, once you have mastered the basic skills, the production speed will be fast and profitable. The diy craft vinyl technique allows you to create custom apparel within the same day. You can create custom products without wastage whenever you receive the demands.
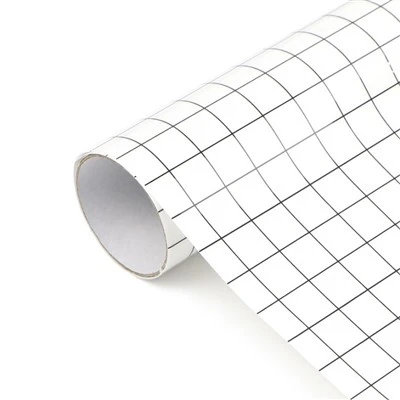
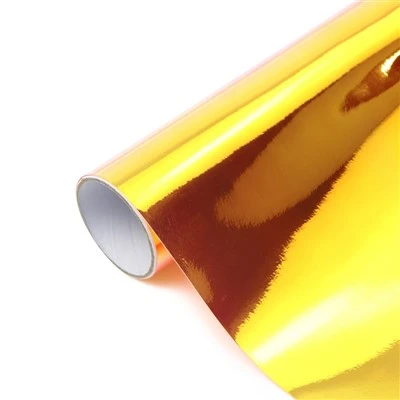
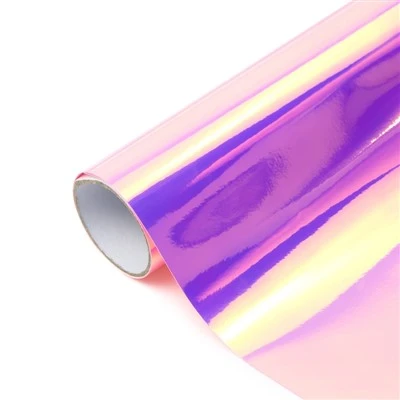
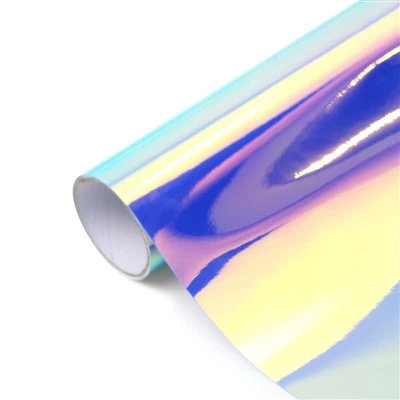
Our factory
Our own Huansheng Science and Technology Park is with over 10,000 square meters and more than 120 workers. Worked in vinyl cutter industry since year 2004 and developed the brands "MYCUT" & "TALENT" from year 2015, MYCUT vinyl cutters are well known all over the world with integrated design carriage head & honeycomb aluminum structure, which assure the highest precision and reliability.
Production equipment
Our factory testing machines are Withstand Voltage Leakage Tester, Vibration Tester, CCD High-definition Electron Microscope, Push-pull Force Test Bench, Level 00 High-precision Marble Platform, Square Ruler and Triangle Ruler, Other Digital Display Sizes Inner Diameters and Outer Diameters, Infrared Thermometer, Decibel Meter, 2D Measuring Instrument, Simulated Transportation Shaker, QUV Ultraviolet Aging Test Machine, Power Aging Cabinet, Constant Temperature and Humidity Aging Cabinet and Drop Test Machine.
Our certificates
All of MYCUT screen protector cutting machines and cutting plotter are with CE and RoHS certificates, and FCC compliant. Our factory complies with ISO9001: 2015 quality control as the production standards.
Quality control
QC department works on manual raw materials quality inspection, in-production quality inspection and finished product inspection, triple times quality control makes our screen protector cutter machine more reliable.
Get to Know the Different Types of DIY Craft Vinyl
Diy craft vinyl is an amazing material for crafters who want to take their projects to the next level. It comes in several varieties, each with its own special properties and applications. With so many options out there, it can be confusing trying to determine which type of diy craft vinyl is best for your project.
Adhesive vinyl
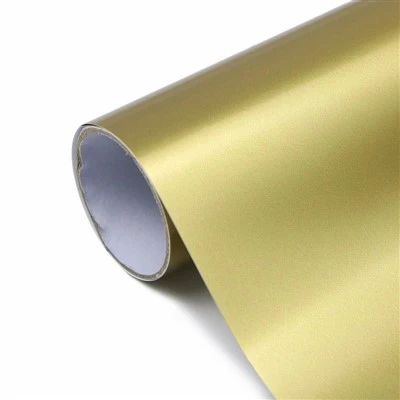
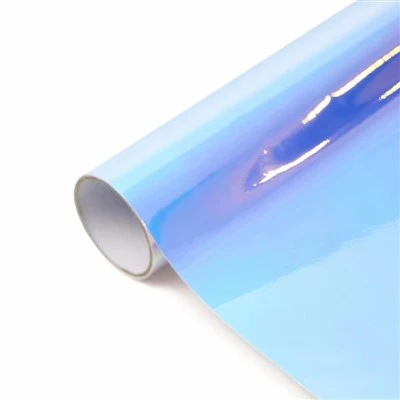
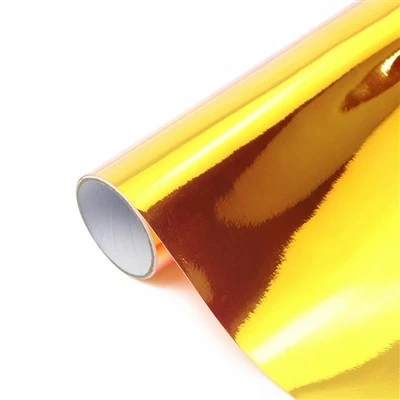
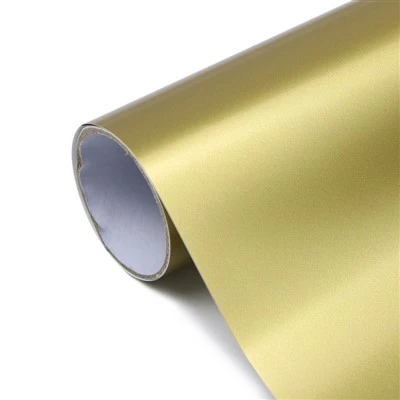
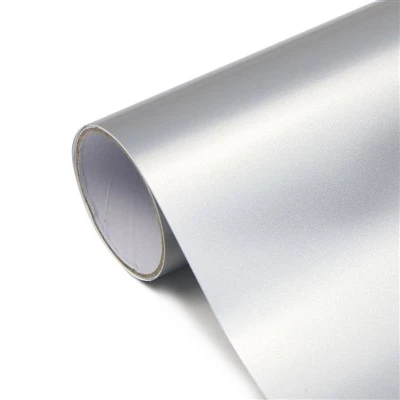
Adhesive vinyl is the most common type of diy craft vinyl. It is available in a variety of colors and finishes, including matte, glossy, metallic, and glitter. This type of vinyl adheres to almost any dry surface using either a standard or permanent adhesive. Standard adhesive vinyl is ideal for temporary projects, such as signs or labels that may need to be removed at a later date without leaving residue behind. Permanent adhesive vinyl should only be used on surfaces where you don’t intend on removing the material.
Heat transfer vinyl (htv)
Heat transfer vinyl (htv) is a type of vinyl for crafting that requires heat from an iron or heat press in order to adhere properly. Htv comes in various colors and finishes and can be used both indoors and outdoors because it is waterproof and uv-resistant. Htv has a special adhesive backing that makes it easy to apply directly onto fabric such as t-shirts or bags, making it perfect for customizing apparel with your own designs!
Heat transfer tape (htt)
Heat transfer tape (htt) works similarly to heat transfer vinyl (htv), but instead of using an iron or heat press, you use adhesive tape instead. Htt can be applied quickly and easily with no additional tools required—just cut out your design from htt, peel off the backing paper, place it onto the desired surface, then cover it with a piece of parchment paper before pressing with an iron or heat press for about 10 seconds! Htt is also waterproof and uv-resistant like htv so it's great for outdoor use as well.
What Can You Make With Your DIY Craft Vinyl
Alright, so we now know a little bit more about what vinyl is, how to cut and manipulate it, and what tools craftspeople use to make their projects a reality. But what kinds of things can you make with vinyl, anyway? While it would be impossible to mention everything you could make, here are a few of the common ones.
T-shirts
It’s most likely you will create these through heat-transfer vinyl. Work up a cool design on your computer, cut it out with your cutting machine and iron it onto a T-shirt for a one-of-a-kind design you won't find in any store.
Stickers and labels
Have you ever wanted to design stickers for decorating your laptop, bathroom mirror or day planner? With vinyl crafting techniques, you can do just that. You can also make handy labels for different things around your home or office.
Car wraps
Sometimes, your car needs a little extra decoration. With a good vinyl cutting machine, you can design whatever shape, logo or pattern you want before cutting it out and sticking it onto your car’s exterior. These types of vinyl will likely be the self-sticking varieties instead of the heat-transfer kind.
Signage
There are plenty of occasions where you might need a little signage work. Maybe you'll make tiny signs to label appetizers at a party, or a massive banner for a wedding. Whatever you’ve got in mind, we think vinyl is the perfect way to create this sort of signage.
Cards
A vinyl decoration can sometimes be just the touch that makes a homemade card that much more special and beautiful. Because the cards are typically paper or cardstock, you will also usually use press-on vinyl.
And many more
There is virtually no end to all the different ways you can incorporate vinyl into your projects. You can decorate or enhance almost any object with vinyl, from your coasters to your coffee mugs, and from your laptop to your phone. All it takes is a little imagination to begin seeing the possibilities.
Let's cover some basic steps to applying diy craft vinyl to surfaces. You will find more comprehensive steps online, but let's go over the basics.
Clean surface
You will need to start with a clean surface. A surface with dust, debris, or even a lowly hair on it will affect the vinyl adhesion and long-lastingness of your decoration. Based on the surface you are using, clean it thoroughly with a safe cleaner and then dry it with a soft, water-absorbent towel.
Get rid of the excess
Trim or weed away excess vinyl that is not part of your design. Carefully cut around the design, making sure to not cut into the design. You will be left with just the design with the paper on the adhesive back. Read some tips for weeding small letters or intricate designs.
Tape away
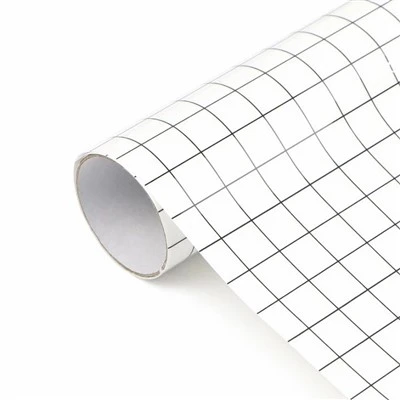
After cutting a piece of transfer tape just larger than your design, peel away the backing of the tape. Carefully place the transfer tape over the vinyl design.
Banish bubbles
Use your squeegee tool to carefully remove or smooth out any bumps or bubbles between the application tape and the vinyl. Take your time and use firm but not tearing force.
Peel and place
Carefully peel away the paper backing on your diy craft vinyl. This will mean your design now shows up in reverse on your application tape.
Place, press, and peel to reveal
Carefully place the application-tape face down on your tumbler or other surface, which will make your design front facing. Again, using your squeegee tool, gently press the design onto your surface, in effect scraping away any bubbles between your vinyl and your surface. Carefully peel off the transfer tape and gaze appreciatively at your finished product!
It sounds more challenging that it is. If you feel you need more sticky vinyl application tips, check out our updated basic vinyl application video. It's loaded with pro tips on sign vinyl application techniques.
How to Select the Right DIY Craft Vinyl for the Job
Before you select a vinyl for your craft, you should ask yourself the following questions and allow your answers to direct you to the right product for your craft project: What type of surface do you want to work with? For how long do you want your sign or decals to remain on that surface? Will the surface or your final product be exposed to the element? Do you want something that can withstand lots of handling?
Hopefully, after going through the different types and varieties of diy craft vinyl, you can determine what kind of diy craft vinyl is suitable for whatever project you’re thinking of.
The basic selection rule is: If your surface is smooth and hard (like boxes, mirrors, picture frames, bottles, mugs, walls, etc.), then you should go for adhesive vinyl. If you want to decorate a soft surface (like bags, totes, books, shoes, fabrics, etc.) that can take the heat, then go for the heat transfer vinyl.
Also, if you want your decal to last long or you want to decorate outdoor surfaces (exposed to the element), or a surface that you will want to wash, then go for permanent vinyl. Otherwise, a temporary or removable vinyl should be able to do the job.
Generally, all Heat Transfer Vinyl is washable and should work on all materials and fabrics that can withstand the heat of your heat press or iron. So, if you want to choose an iron-on vinyl, you should consider the elasticity of the material, and the look you want since some HTV will work better for some designs or fabrics than others.
For instance, stiff vinyl, like metallic and holographic vinyl works better with smaller designs instead of large vinyl stretches while stretch vinyl works best with stretchy fabrics and sportswear. Once you’ve decided whether you need a removable or permanent vinyl or the vinyl with the right adhesive for your surface, you can proceed to select the style or color that you like.

Stash it in a drawer cart
A drawer cart isn’t just a great way to store your diy craft vinyl - it’s also a great place to put your machine to create an entire workstation! Carts will hold your vinyl, machine accessories and tools, and your machine in one convenient package. As with other drawer storage solutions for vinyl, though, you may have to spend some time digging to find the roll you need.
Hang it on the wall
Going vertical is always a great way to find storage space, and there are several options for storing your vinyl rolls right on the wall (without using a shelving unit). If you’ve got pegboard (or space to install some), this might be the storage solution of your dreams! Just slide your rolls of vinyl onto pegboard hooks - the longer, the better, like these 8” hooks - and you’ll be able to see your entire selection. Make your rolls as dense or as spaced out as you’d like!
Put it in a cube
Thirteen inch cube shelves are the go-to storage in many craft rooms, and they can handle your vinyl rolls, too! There’s plenty of different options with these cubes for how to store your vinyl and iron-on rolls. The simplest way is to just stack the rolls on their sides on the shelves. I currently have my vinyl stored this way in a non-cube shelving unit. It’s efficient but can be difficult to get things in and out and to see what I have (especially when it is jam packed). For a little more separation of your rolls while stacked, you can insert dividers in your cubes. Ikea makes one that creates nine slots (intended for wine bottles) for their kallax units or hit up etsy to find custom ones like this 25 slot cube divider especially for vinyl rolls!
Hang it on the back of a door
- Hanging your vinyl on the back of a door is a simple and affordable way to organize your rolls of vinyl - and one that doesn’t take much space, either. It’s also one of the only methods that keeps it all very visible, so you can really lay eyes on your entire selection. This is great if you are a very visual person. The least expensive way to do it is an over the door shoe organizer with clear pockets, similar to the one that I used a few years ago to organize my vinyl. The pockets on the one I had were a bit floppy, so you can see in the photo that I used clothes pins to put a pleat in them and clip them tighter around my vinyl rolls.
- Both of these behind the door options, of course, could also be hung on an open wall space using your own wall anchors instead of the included over door hooks.
Keep it on your table
Would you like to keep your vinyl (or at least some of it) right within arm’s reach on your desk by your machine? There’s several options available to do just that! The shelves are adjustable so, if you like to buy bulk vinyl rolls, you can change your organizer to accommodate them.
Our Factory
MYCUT is a leading brand for screen protector cutting machine under Huansheng Intelligence (Shenzhen) Co., Ltd. We are National High-Tech Enterprise located in the city of design-Shenzhen in South China and passes ISO9001:2015 authentication. Our own Huansheng Science and Technology Park is with over 10,000 square meters and more than 120 workers. Worked in vinyl cutter industry since year 2004 and developed the brands "MYCUT" & "TALENT" from year 2015, MYCUT vinyl cutters are well known all over the world with integrated design carriage head & honeycomb aluminum structure, which assure the highest precision and reliability. All of MYCUT screen protector cutting machines and cutting plotter are with CE and RoHS certificates, and FCC compliant. Our factory complies with ISO9001: 2015 quality control as the production standards.

FAQ
As one of the most professional diy craft vinyl manufacturers and suppliers in China, we're featured by quality products and good service. Please rest assured to buy bulk customized diy craft vinyl made in China here from our factory.
A3 Craft Cutter, Christmas Card Maker I Craft Cutter Plotter Craft Wire Cutters, Laser Craft Machine Circle Cutter for Crafts Card Making Cutters